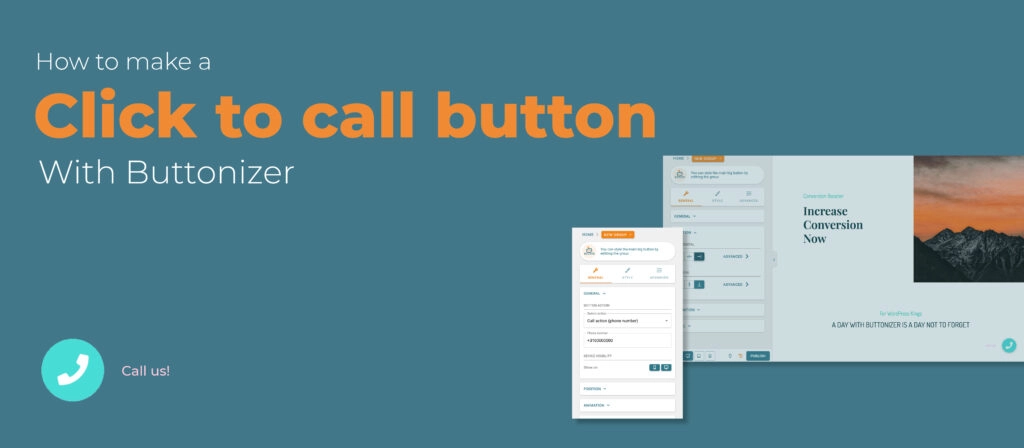
If you want more conversions on your WordPress website, then you should really add a click to call button. Questions of people will be solved much quicker if they can call you, emailing takes a lot of time and waiting for the answer even more. So, adding a “call button” or any other chat function such as an “Click to WhatsApp Chat” button is very handy to have on your website. It’s proven that the bounce rate go’s down when you have Buttonizer on your website! You can follow the steps of this blog or you can watch the YouTube video down below.
The basics of a call button
Change position of floating action button and add button animation
Change the position of the button and choose an animation. Animations are very important, because they draw attention to your button. People will be drawn to the button if it is bouncing on your website.
Then go to Label and add the label text “Call us!” to make sure that your clients/customers know that they can call you with just one click on the button. You can also skip this step, but people will call you quicker if you tell them that it’s okay to call. Many times people feel intrusive to call. A message as “Call us!” reassures them!
How to change the button style
Now you can change the button style and add specific colors and add a Phone icon. Go to style button and change the Base and Interaction color. You can search in the icon selector with the word “Phone” and several phone icons will appear. You can also add Self-made icons if you want. Go to style icon and click on image. Now you can upload your own icon.
How to add specific times that people can or can’t reach you
You can schedule the times that people can reach you. Nothing is more stressful than being called on your day off, weekend or vacation. Go to General Time schedules and open the time schedule settings. Click on + ADD TIME SCHEDULE and name your schedule. On the left you see the self-named time schedule, click on this and the weekdays will appear. Now you can fully customize this schedule. The switch will turn on or off if you click on the “trigger me on …day” switch. You can also change specific times on each day.
You can follow the steps of this blog or you can watch the YouTube video on how to make a call button. In that video we show you everything we explained here, but with screen recordings. We will link the video down below. If there are any uncertainties or if you have questions about Buttonizer, you can always send a message to our customer service. We are happy to help you guys to have the best experience with Buttonizer as possible!